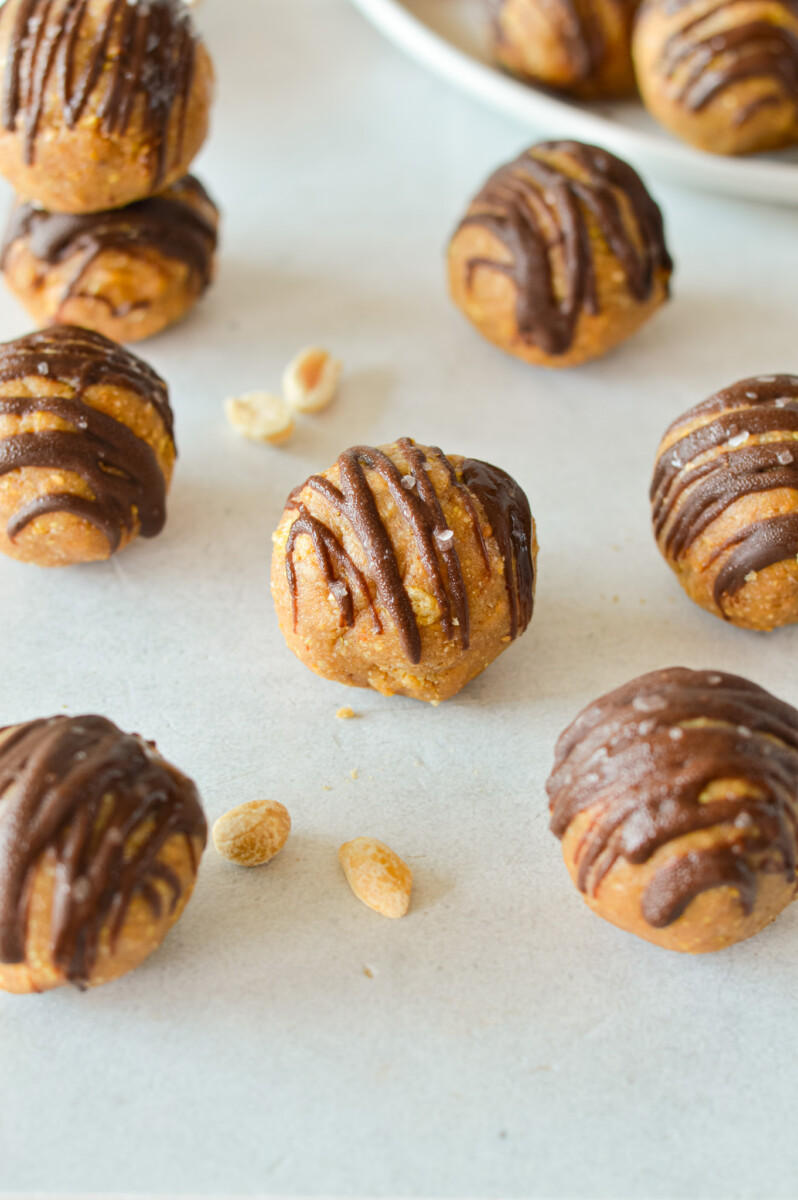
These Peanut Butter Energy Balls are a nutritious meal prep snack that's high in healthy fats to keep you full.
I love including an energy ball recipe in my weekly meal prep because they're the perfect snack: easy, nutritious, and grab & go. I love to rotate between seasonal flavors (lemon turmeric for spring, pumpkin for fall, cranberry bliss for winter), but I always come back to these peanut butter energy balls.
I'm just a huge peanut butter fan and these peanut butter energy balls have all the peanut goodness, combined with chocolate chips and crunchy flax seeds for a perfect bite. They're so satisfying- your snacking game will never be the same!
Why This Recipe Is Dietitian Approved
- Easy to make. Homemade energy balls are so simple to make and don't need to be baked.
- Minimal ingredients. These peanut butter energy balls are made with simple pantry staples packed with nutrients.
- Good source of healthy fats and fiber. We use lots of nourishing ingredients like peanut butter, flax seed and oat flour for lots of satiating fat and fiber.
Ingredients
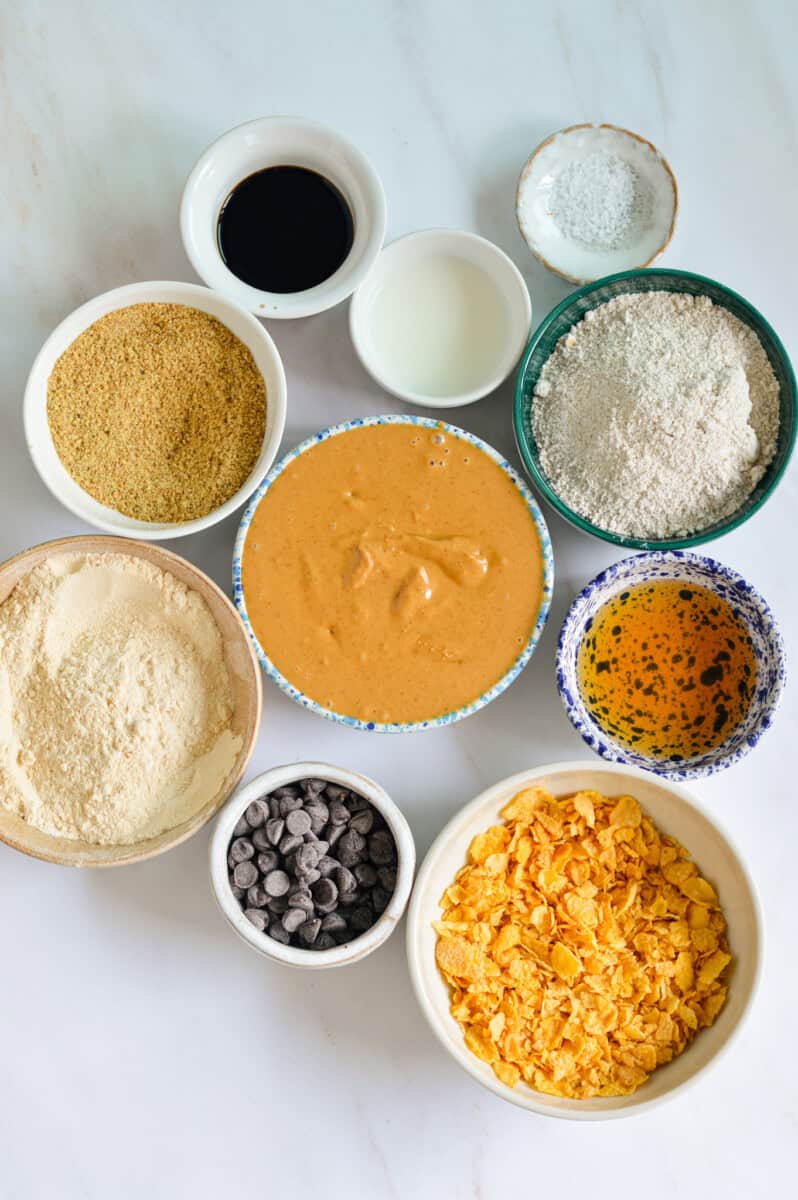
Peanut butter. Use a natural peanut butter for a smooth consistency and minimal added ingredients. Look for one with only roasted peanuts.
Honey. For our natural sweetener of choice.
Milk. This helps add some moisture to this mixture to ensure the energy balls hold together. You may use any milk of choice.
Flax seed. For additional healthy fats, fiber and protein, we use ground flax seed.
Protein powder. Any protein powder will work. You can use unflavoured, vanilla, or chocolate for a chocolate peanut butter flavour combo.
Oat flour. You can purchase pre-made oat flour or make your own by blending whole oats for about 3-4 minutes until a flour like consistency forms.
Cornflakes. I love the extra crunch it adds to these energy balls.
Chocolate. The best combination is chocolate and peanut butter! I use semi sweet chocolate chips to melt with coconut oil.
The complete ingredient list with measurements can be found in the recipe card below.
Instructions

- In a large mixing bowl, combine peanut butter, honey, vanilla extract and milk.
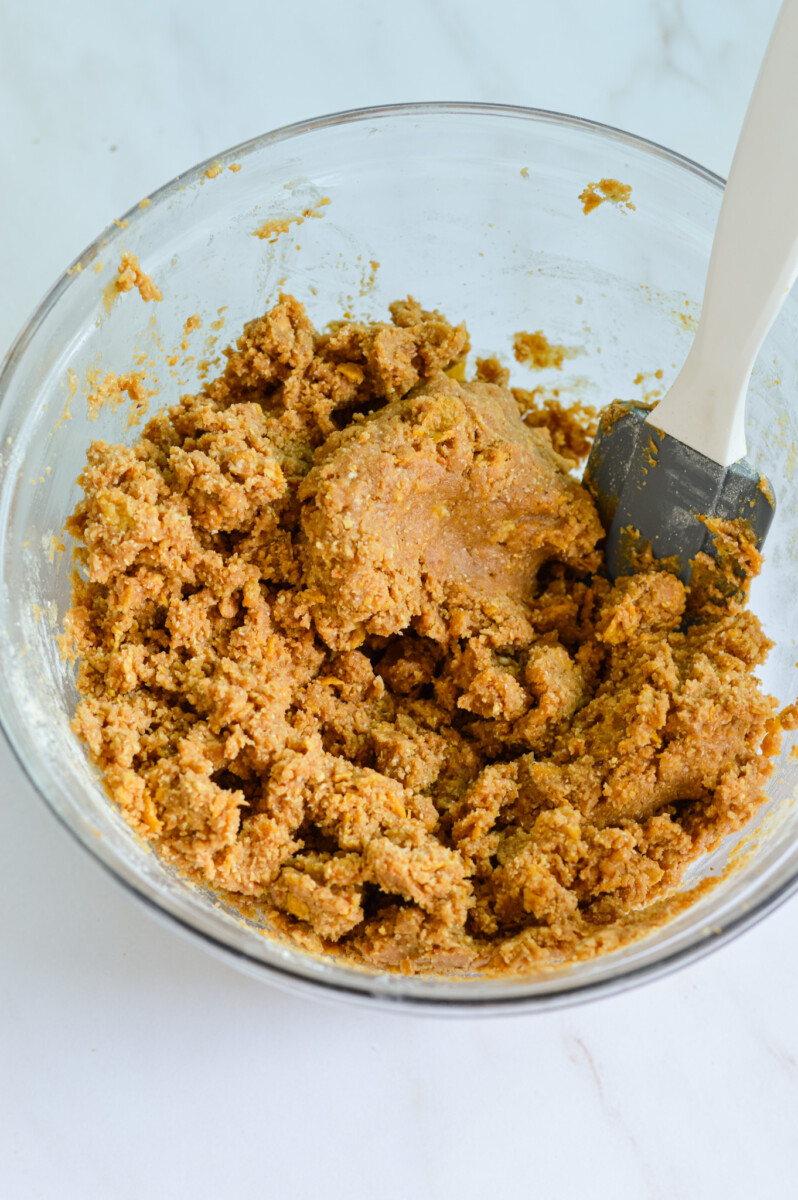
- To the same bowl, add ground flax seed, vanilla protein powder, oat flour, crushed cornflakes and salt. Mix well (you may need to use your hands to ensure all ingredients are fully combined.
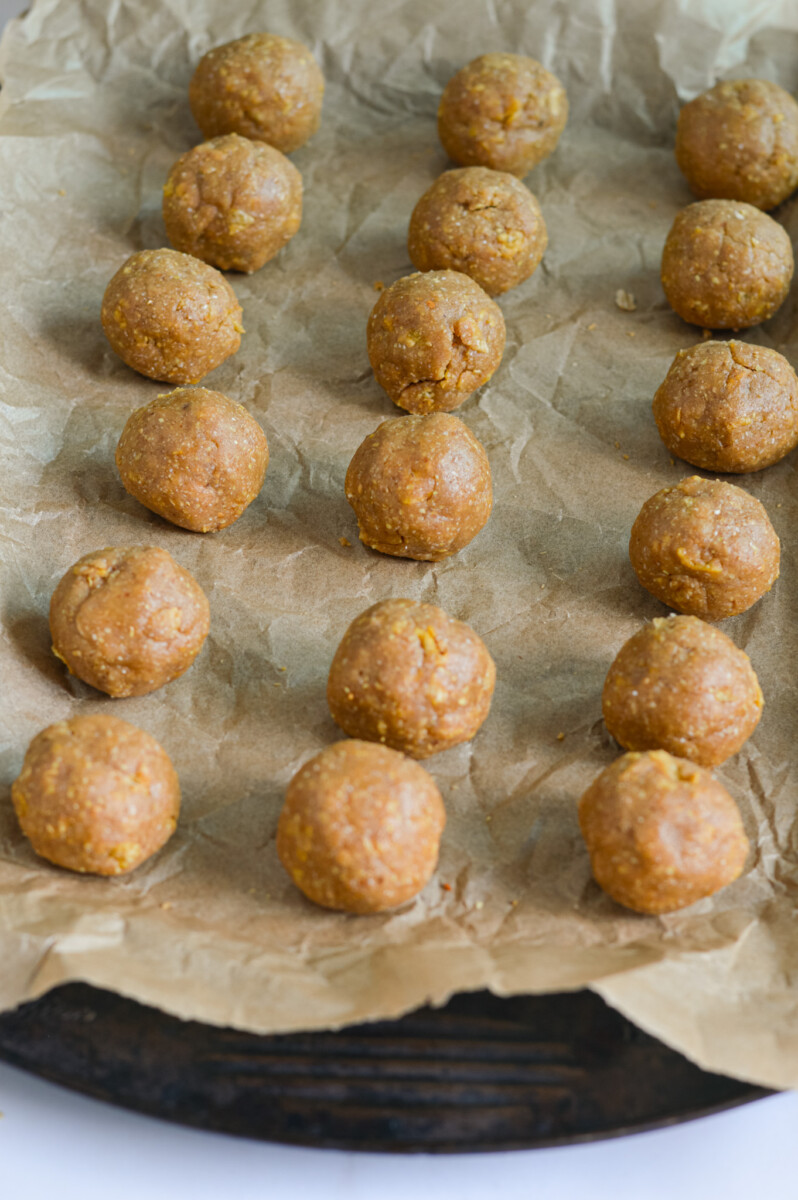
- Roll peanut butter mixture into 20 equal sized balls (about 1.5 tablespoon per ball). And arrange on a parchment paper lined baking sheet or large plate.
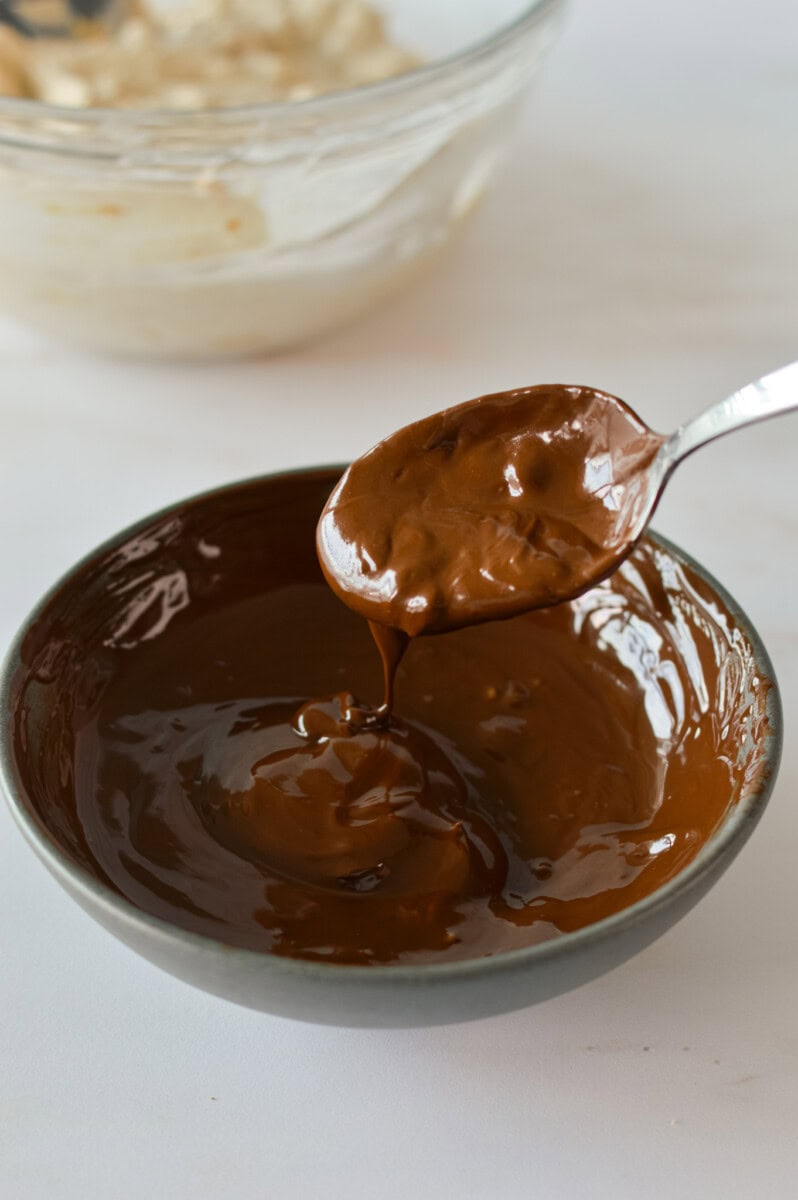
- To melt the chocolate, combine chocolate chips and coconut oil in a microwave safe bowl. Microwave in increments of 30 seconds, stirring between until fully melted (about 1 minute 30 seconds total).
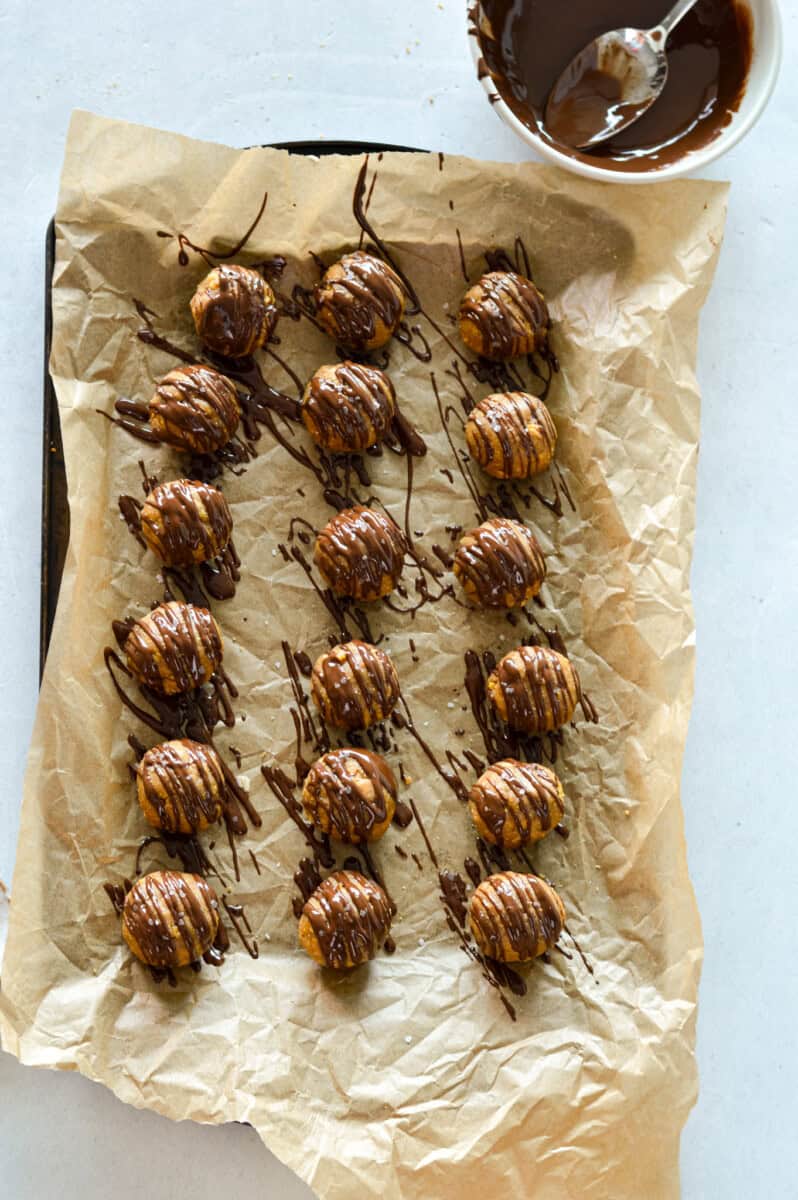
- Drizzle the chocolate over the energy balls. Place the energy balls in the fridge until the chocolate sets.
- To store, place in an airtight container in the fridge or freezer!
Substitutions and Variations
To make gluten-free: Kellogg's Cornflakes are not certified gluten-free. If you are looking for a gluten-free option, I recommend substituting with crispy rice cereal or Chex. You can substitute the oat flour with almond flour or ensure you are using certified gluten-free oat flour.
To make dairy-free: use a dairy-free milk of choice.
To make vegan: swap maple syrup instead of honey and use a dairy-free milk.
Customize these with any mix-ins of choice. Add hemp seeds, chia seeds, chopped peanuts or even mini chocolate chips.
Equipment
Storage
Peanut butter energy balls can be stored in an airtight container in the fridge for up to 10 days or in the freezer for up to 3 months. To eat from the freezer, I recommend just placing it on the counter to thaw for a few minutes before enjoying.
Top Tips for Success
If you are finding the mixture to be dry, this may be a sign the peanut butter doesn’t have enough natural oils (you may be close to the bottom of the container). Just add a bit more milk!
If you are finding the mixture to be too wet, add an additional sprinkle of oat flour.
Frequently Asked Questions
Yes! I like the smooth texture of using oat flour, however whole oats will absolutely work.
Yes you absolutely can! The energy balls may turn out slightly sweeter than they would if you use a natural peanut butter. If your peanut butter is thick of instead of runny, you may need to add more milk or warm the peanut butter up slightly.
More Energy Ball Recipes
If you liked these peanut butter energy balls, try these recipes next:
- Lemon Turmeric Energy Balls
- Oatmeal Cookie Energy Balls
- 3-Ingredient Peanut Butter Oatmeal Balls
- Birthday Cake Protein Balls
See you in the kitchen!
PS. I love seeing my recipes in action! If you decide to make these peanut butter energy balls, don't forget to snap a photo and tag me on Instagram- @nourishedbynic or leave a comment and rating below letting me know how you liked it!
📖 Recipe
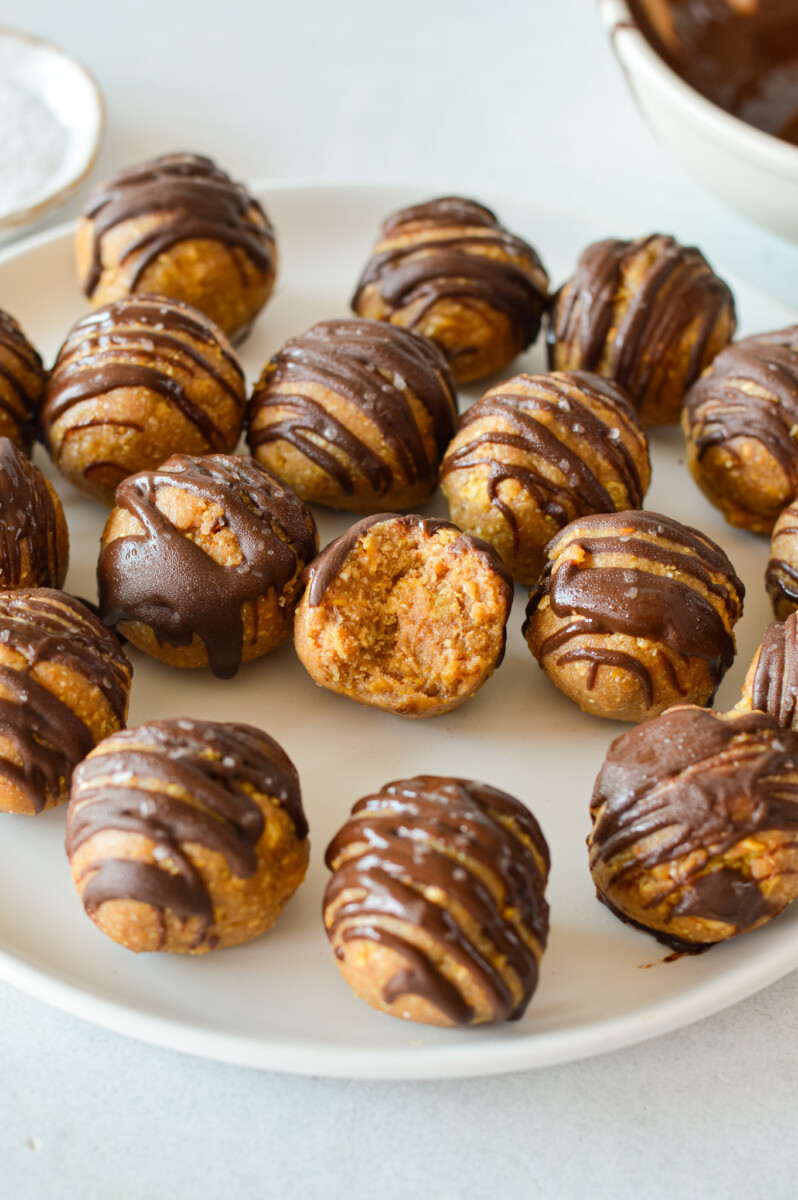
Crunchy Peanut Butter Energy Balls
Ingredients
- 1 cup natural peanut butter
- 4 tablespoon honey
- 1 teaspoon vanilla extract
- 2 tablespoon milk
- ¼ cup ground flaxseed
- ½ cup vanilla protein powder
- ½ cup oat flour or almond flour
- ½ cup crushed cornflakes or crispy rice cereal
- Pinch of salt
- ¼ cup chocolate chips
- 1 teaspoon coconut oil for melting chocolate
Instructions
- In a large mixing bowl, combine peanut butter, honey, vanilla extract and milk.
- To the same bowl, add ground flax seed, vanilla protein powder, oat flour, crushed cornflakes and salt. Mix well (you may need to use your hands to ensure all ingredients are fully combined).
- Roll peanut butter mixture into 20 equal sized balls (about 1.5 tablespoon per ball). And arrange on a parchment paper lined baking sheet or large plate.
- To melt the chocolate, combine chocolate chips and coconut oil in a microwave safe bowl. Microwave in increments of 30 seconds, stirring between until fully melted (about 1 minute 30 seconds total).
- Drizzle the chocolate over the energy balls. Place the energy balls in the fridge until the chocolate sets.
- To store, place in an airtight container in the fridge or freezer!
Nicole Addison says
Perfect for a bite-sized snack! These peanut butter energy balls are sure to satisfy your cravings! I hope you enjoy this recipe.